
Challenge: https://blueteamlabs.online/home/challenge/employee-of-the-year-df16bc36f3
Scenario
John received the ‘Best Employee of the Year’ award for his hard work at FakeCompany Ltd. Unfortunately, today John deleted some important files (typical John!). It’s your job to recover the deleted files and capture all the flags contained within!
Tools Used
- PhotoRec to recover deleted contents by the collection of raw bytes.
- Kwrite to view text files and understand content structures.
- CyberChef to decode hidden messages.
- Typst to convert hex into ASCII.
- TheSleuthKit for analyzing disk images and recovering files.
Questions & Answers
Q-1. What is the text written on the recovered gif image?
ပထမဆုံးအနေနဲ့ recoverfiles.dd ထဲကဖိုင်တွေကိုပြန်ဆယ်ဖို့အတွက် PhotoRec ကိုအသုံးပြုခဲ့ပါတယ်။
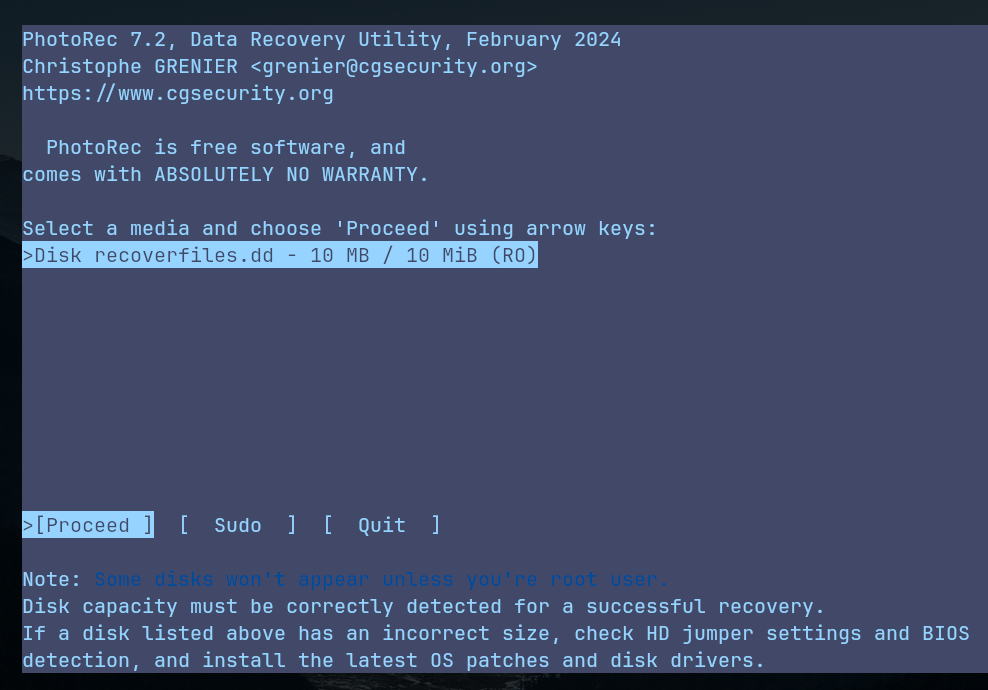
- Selecting a media > Proceed:
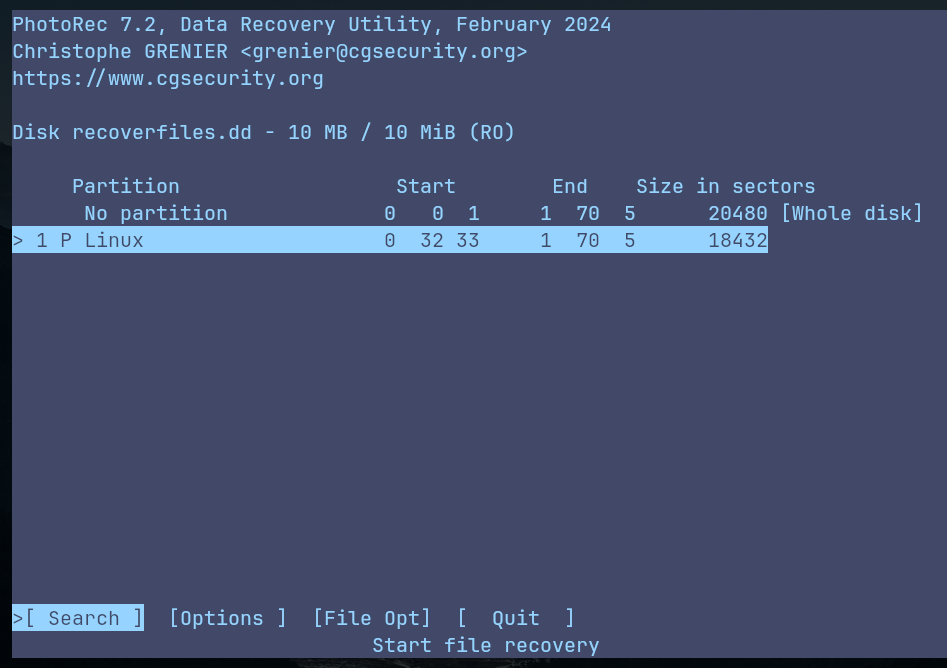
- Select partition > Linux > Search:
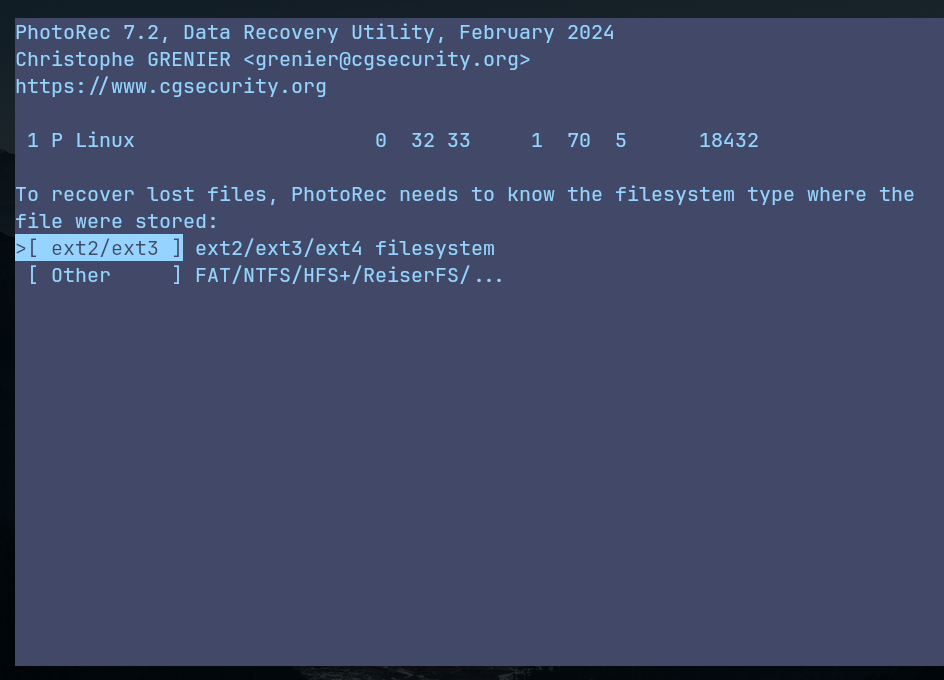
- Try selecting “ext2/ext3” to identify lost files:
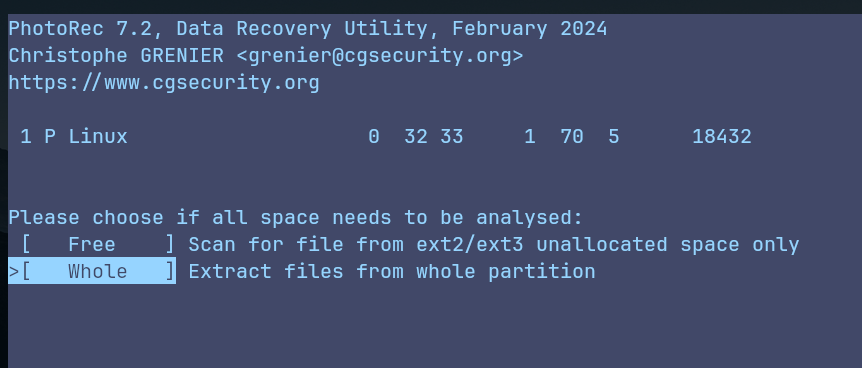
- Select “Whole” to extract files from whole parition:
- Choose path to extract recovered files > type “C” to confirm path:
Extract လုပ်ပြီးတဲ့အခါ အောက်ပါအတိုင်း File တွေကိုတွေ့ရပါတယ်။ ဒီမေးခွန်းရဲ့အဖြေကိုအခု Recovered လုပ်လိုက်တဲ့ .gif ဖိုင်ပေါ်မှာရှာတွေ့နိုင်ပါတယ်။
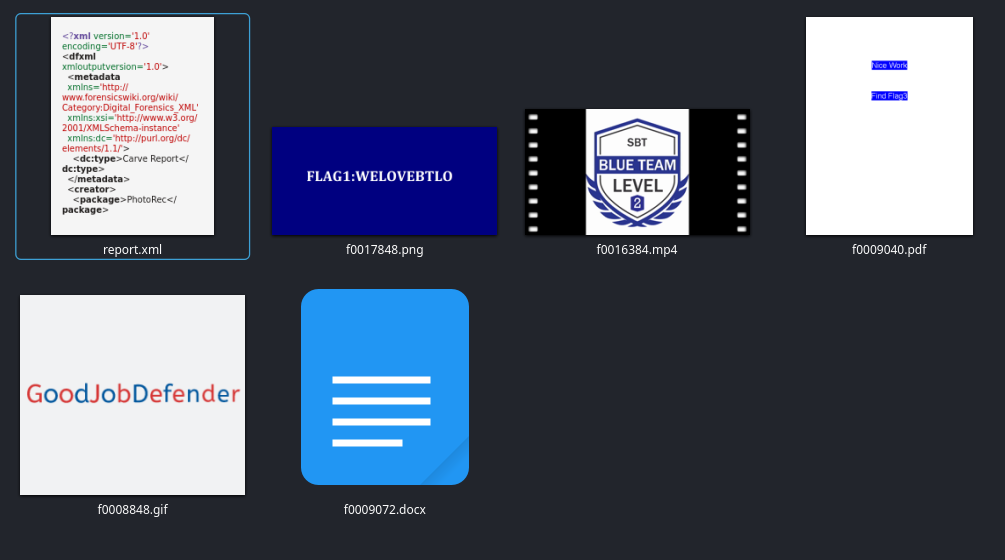
Q-2. Submit Flag1
Flag 1 ကို Recover လုပ်လိုက်တဲ့ .png ဖိုင်တစ်ခုမှာတစ်ခါတည်း ရှာတွေ့နိုင်ပါတယ်။
Q-3. Submit Flag2
လက်ရှိအသုံးပြုနေကြတဲ့ Mircosoft Word 2007+ .docx ဖိုင်တွေအားလုံးက ZIP ဖိုင်တွေပါပဲ။ XML files တွေဖြစ်တဲ့ text, images, formatting, etc. တွေအားလုံးကို zip တစ်ခုအနေနဲ့ format ချတည်ဆောက်ထားတာဖြစ်ပါတယ်။
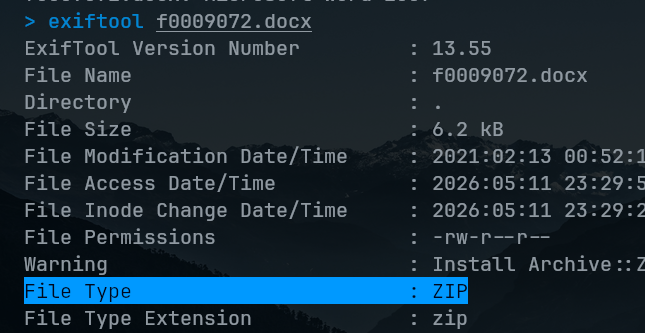
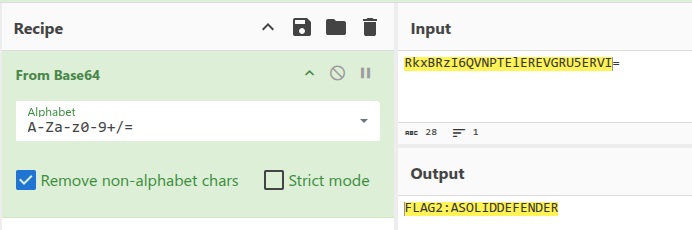
ဒါကြောင့် Flag 2 ကိုရှာဖို့ .docx ကို unzip ဖြည်ကြည့်လိုက်ပြီး XML contents တွေ မွှေနှောက်ကြည့်တဲ့အခါ Encoded message တစ်ခုကို document.xml ဖိုင်ထဲမှာရှာတွေ့နိုင်ပါတယ်။

CyberChef မှာ Decode လုပ်လိုက်တဲ့အခါ သူက Base64 Encoded စာသားဖြစ်ပြီး အောက်ပါအတိုင်း Original Message ကိုပြန်ရနိုင်ပါတယ်။
Q-4. Submit Flag3
Recover လုပ်လိုက်တဲ့ဖိုင်တွေထဲမှာ .pdf ဖိုင်တစ်ခုကို Metadata စစ်ကြည့်လိုက် Author name field မှာစာတစ်ခုရှာတွေ့ရပါလိမ့်မယ်။
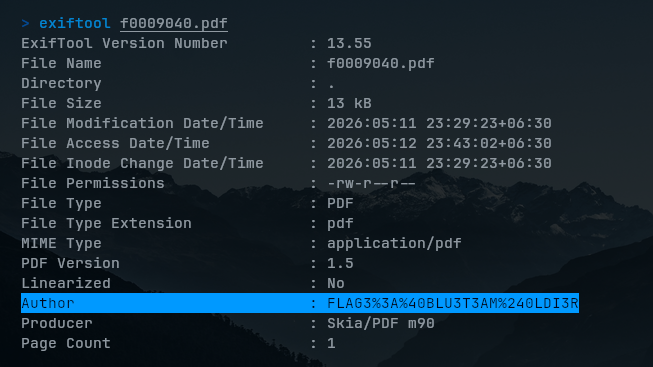
Flag အပြည့်စုံမြင်ရဖို့ % နောက်က character 2 လုံးတို့က Hex အနေနဲ့ ASCII စာလုံးတွေကိုကိုယ်စားပြုထားတာဖြစ်ပါတယ်။ ကျွန်တော် ASCII table အသုံးပြုပြီး ရှာကြည့်လိုက်တဲ့အခါ အောက်ပါအတိုင်းစာအပြည့်အစုံကိုပြန်ရပါတယ်။

# 0x representes a hexadecimal value.
%3A (0x3A) --> :
%40 (0x40) --> @
%24 (0x24) --> $

# Final result
FLAG3%3A%40BLU3T3AM%240LDI3R --> FLAG3:@BLU3T3AM$0LDI3R
Q-5. What is the filesystem of the provided disk image?
recoverfiles.dd ရဲ့ Image Structure ကိုအရင်ဆုံးနားလည်ရအောင် The Sleuth Kit ထဲက mmls နဲ့ Partition layout ကိုစစ်ကြည့်ပါတယ်။
$ mmls recoverfiles.dd
DOS Partition Table
Offset Sector: 0
Units are in 512-byte sectors

      Slot      Start        End          Length       Description
000:  Meta      0000000000   0000000000   0000000001   Primary Table (#0)
001:  -------   0000000000   0000002047   0000002048   Unallocated
002:  000:000   0000002048   0000020479   0000018432   Linux (0x83)
အပေါ်က Output ကိုကြည့်လိုက်မယ်ဆိုရင် တကယ့် Filesystem partition က offset 2048 မှာစတယ်လို့ပြောပါတယ်။ ဒါကြောင့် fsstat နဲ့ offset ကို 2048 မှာထားပြီးစစ်ကြည့်လိုက်တဲ့အခါ recoverfiles.dd ဖိုင်ရဲ့ မူရင်း filesystem ကိုဖော်ပြပါလိမ့်မယ်။
$ fsstat -o 2048 recoverfiles.dd | grep "File System Type"
File System Type: Ext4
ကျွန်တော်တို့ offset ကိုမသတ်မှတ်ပဲ ဒီတိုင်းတမ်းစစ်ကြည့်မယ်ဆိုရင် “Cannot determine file system type”၊ “Missing” စသဖြင့်ပဲကြုံရပါလိမ့်မယ်။
Q-6. What is the original filename of the recovered mp4 file?
ကျွန်တော်အစပိုင်းမှာတုန်းက PhotoRec အသုံးပြုပြီး Contents တွေကို recover လုပ်ခဲ့တာဖြစ်ပါတယ်။ ဒါပေမယ့် PhotoRec က Filesystem metadata တွေကိုကြည့်တာမဟုတ်ပဲ Raw Sectors၊ File signature/magic bytes တွေကို Scan လိုက်ဖတ်ရင်းတစ်ခုချင်းစုစုပြီး data တွေပြန်ဆယ်ပေးထားတာမို့လို့ တချို့ Filename တွေကအသစ်ပြောင်းနေတတ်ပါတယ်။
ဒါကြောင့် မူရင်း Filename တွေပြန်မြင်ရအောင် fls (list file contents) ကို ခုနကအတိုင်း တကယ့် Filesystem ရှိတဲ့ Offset 2048 ထားပြီးစစ်ကြည့်လိုက်ရင် မူရင်း Filename တွေပြန်မြင်ရပါတယ်။
$ fls -o 2048 recoverfiles.dd
d/d 11:	lost+found
r/r * 12:	Vanilla.gif
r/r * 13:	SBTCertifications.mp4
r/r * 14:	Flag3.pdf
r/r * 15:	Flag2.docx
r/r * 16:	Flag1.png
V/V 2305:	$OrphanFiles